

Egyptian Table
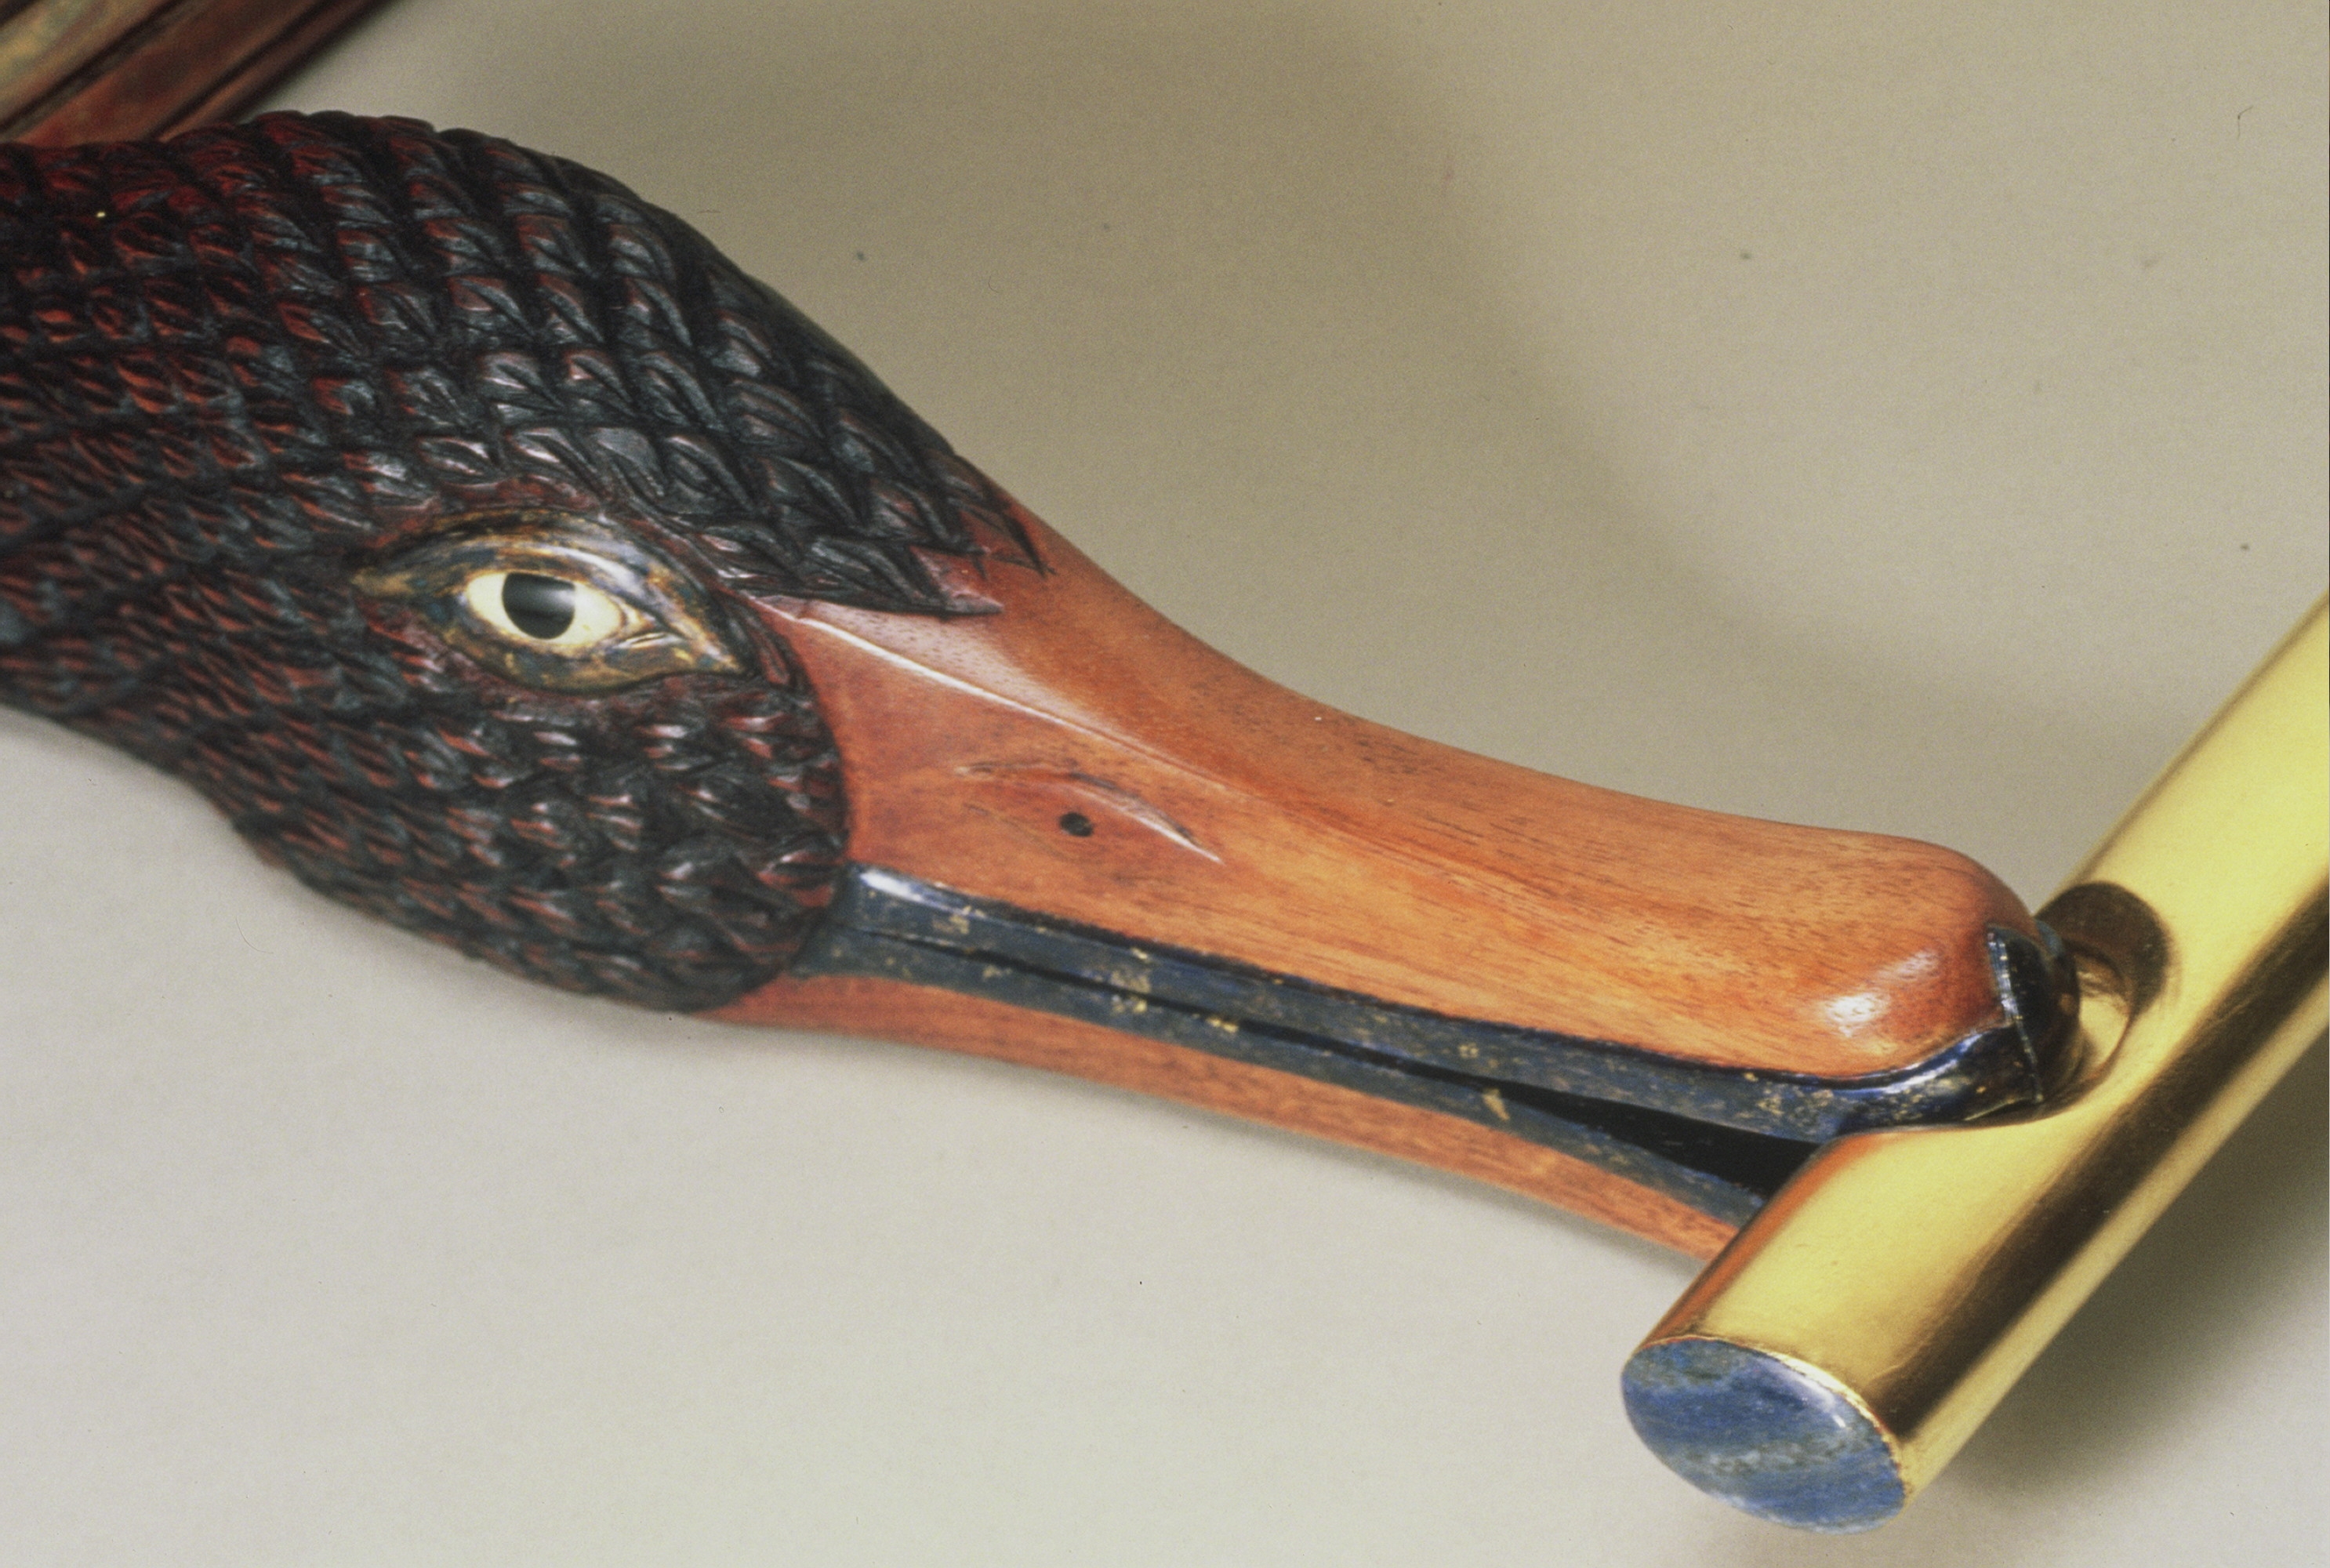
Detail Egyptian Table
The finish is usually the last thing that you do when building a piece of furniture, but it is the first thing that someone sees when looking at your work. You can do a great job designing and building a piece of furniture, but if the finish is of poor quality it will devalue the entire piece. Finishes can be divided into two main categories: air oxidizing finishes and solvent release finishes. Air oxidizing finishes cure by reacting with oxygen and this category includes oils, varnishes, and urethanes. Solvent release finishes cure when the solvents evaporate into the air, leaving a layer of resin on the surface. Finishes in this category include shellac, lacquer, and some water based finishes.
No matter which type of finish you select, keep in mind that approximately 60% to 70% of a good finish is surface preparation. That means scraping and sanding until all saw marks, mill marks, etc, are removed. Tabletops are the most critical and need to be examined in raking light. That means placing a light source near the table and positioning yourself so that you can see the light reflect off the top. As you move around, your eyes should be able to scrutinize every square inch of the top, revealing any scratches, flaws, high spots, or low spots.
Generally speaking, I prefer a hand rubbed oil finish for most of the furniture that I build. Linseed oil and Tung oil are the two most commonly used oils in finishes and both of them have withstood the test of time. Linseed oil is derived from the flax plant and has been used since the ancient Egyptians. Tung oil is derived from the nuts of the Tung tree which grows in the Far East and was used to help preserve the Great Wall of China.
Both of these oils penetrate the structure of wood cells creating a finish that is “in” the wood as opposed to being “on” the wood. Applying multiple thin coats will create depth and accentuate the figure of the wood.
Oil finishes do not offer the same resistance to moisture that film finishes like lacquer and polyurethane do, but the trade off is that they allow for a very natural looking finish and permit you to experience the tactile quality of the wood. In addition, they are easy to repair. If the surface looks worn, you do not have to strip it and sand it; you simply rub in another coat of oil. I have also found that they can be enhanced by lightly rubbing with 0000 steel wool and applying a light coat of wax.
Note:
I will be teaching a 5 days hands on class on Finishing in my Workshop/Studio here in Santa Rosa, California on August 1 – 5, 2013.
Finishes that I will cover in the class include: shellac, various oils, as well as lacquers and polyurethanes. For those that have seen Woodworks, I will cover in depth my technique for applying hand rubbed oil finishes which are also known as wiping varnishes.
Here is the link to the Classes Section of my website that gives the class description and registration information.
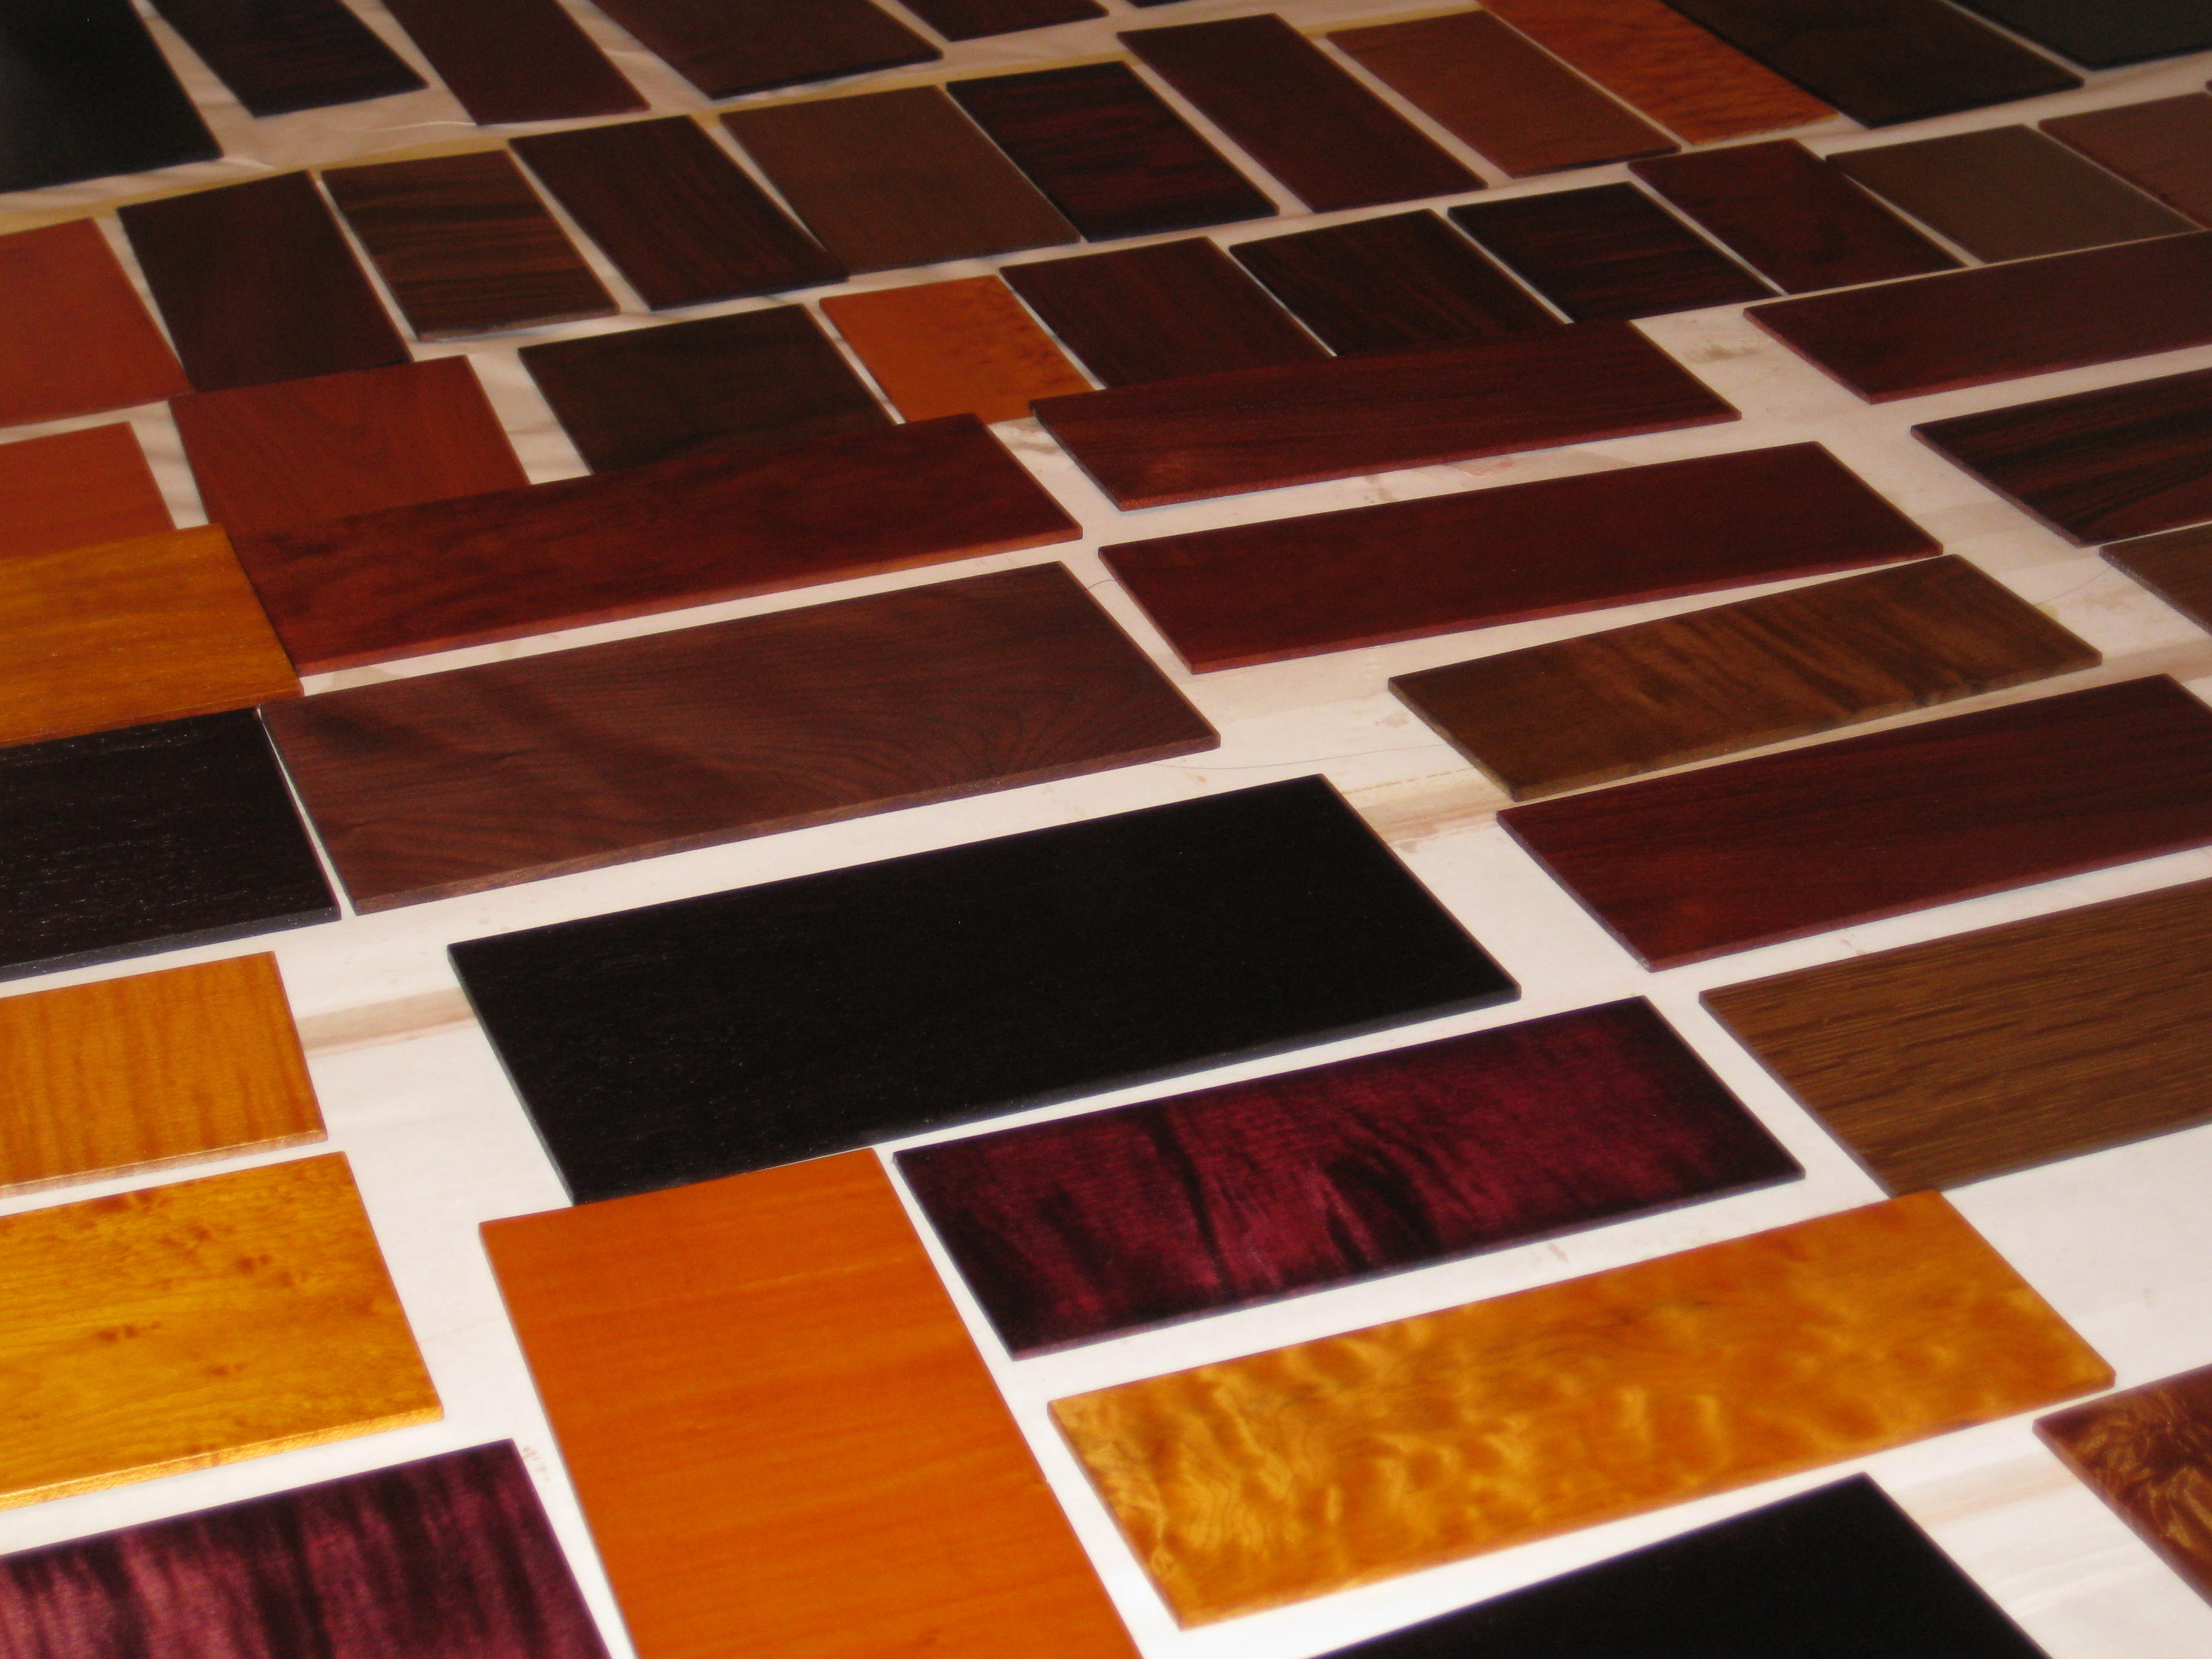
Finishing Sample Boards
If you would like to see pictures from previous Finishing Classes I have taught in my Workshop/Studio, here is the link to the Classes Photo Album:
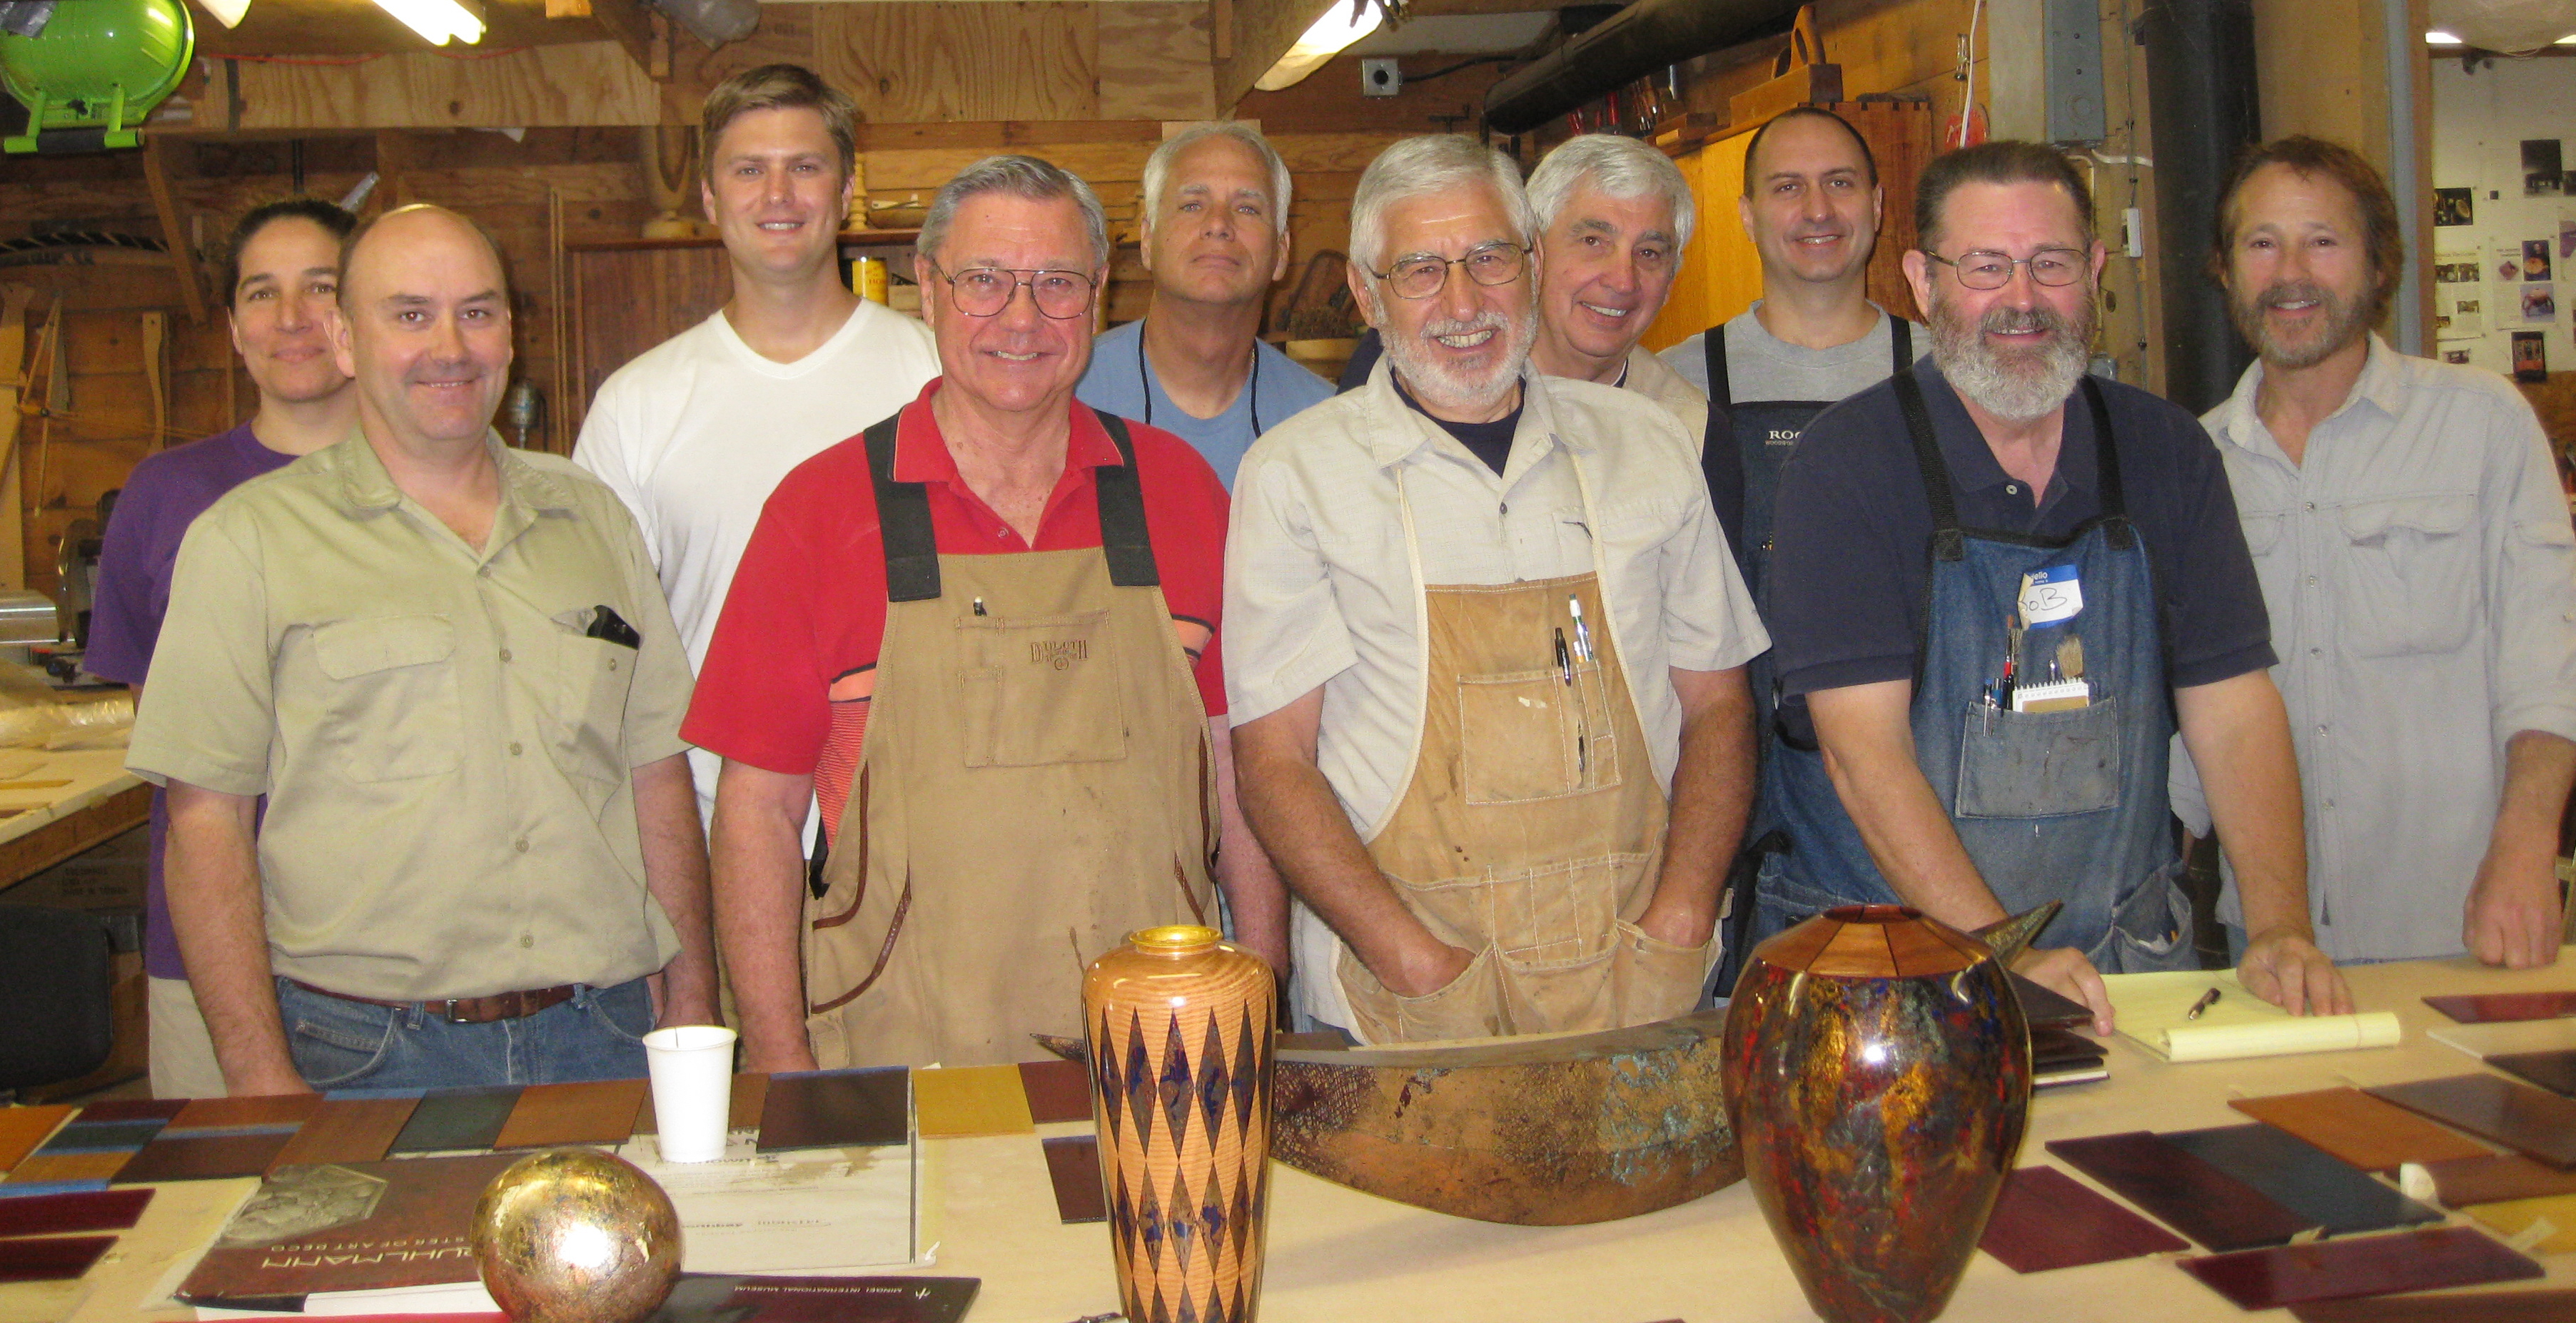
2012 Finishing Class
